

No electricity, indoor bathroom plumbing, room for the two boys.


.jpeg)


Elaine Scholl 1925-1960. Photo found 2007.


It isn't as hard as it sounds. You can organize, categorize and digitize your histories, research photos, and random papers quickly and efficiently with the help of some amazing machines. The great thing is that it is completely free. Sounds difficult? It isn't. It does take some time and effort. Once it is all done you have immediate access to all records and photos. No more sorting through boxes and albums. You can easily share your research with Family Tree or others working on the same lines. You will sleep better at night knowing you have backed up all your work.
Step 1. Gather all records, photographs, notes, and anything related to FH into one location.
Step 2. Pick up each record and decide if it is important enough to keep. If not discard. If it is, put it into one of three piles.
The first pile is 8 1/2 x 11 sheets of paper that have something on the back side.
The second pile is 8 1/2 sheets of paper with nothing on the back side.
The third pile are papers that are odd size documents and all photographs. Make sub-piles of these by person. If a photo has two people in it you will deal with that later. This is the most important step. Sorting by person will make your life much better.
(If you have books or documents larger than 8 1/2 x 11 put them in a separate pile. You will use a flatbed to scan these.)
 |
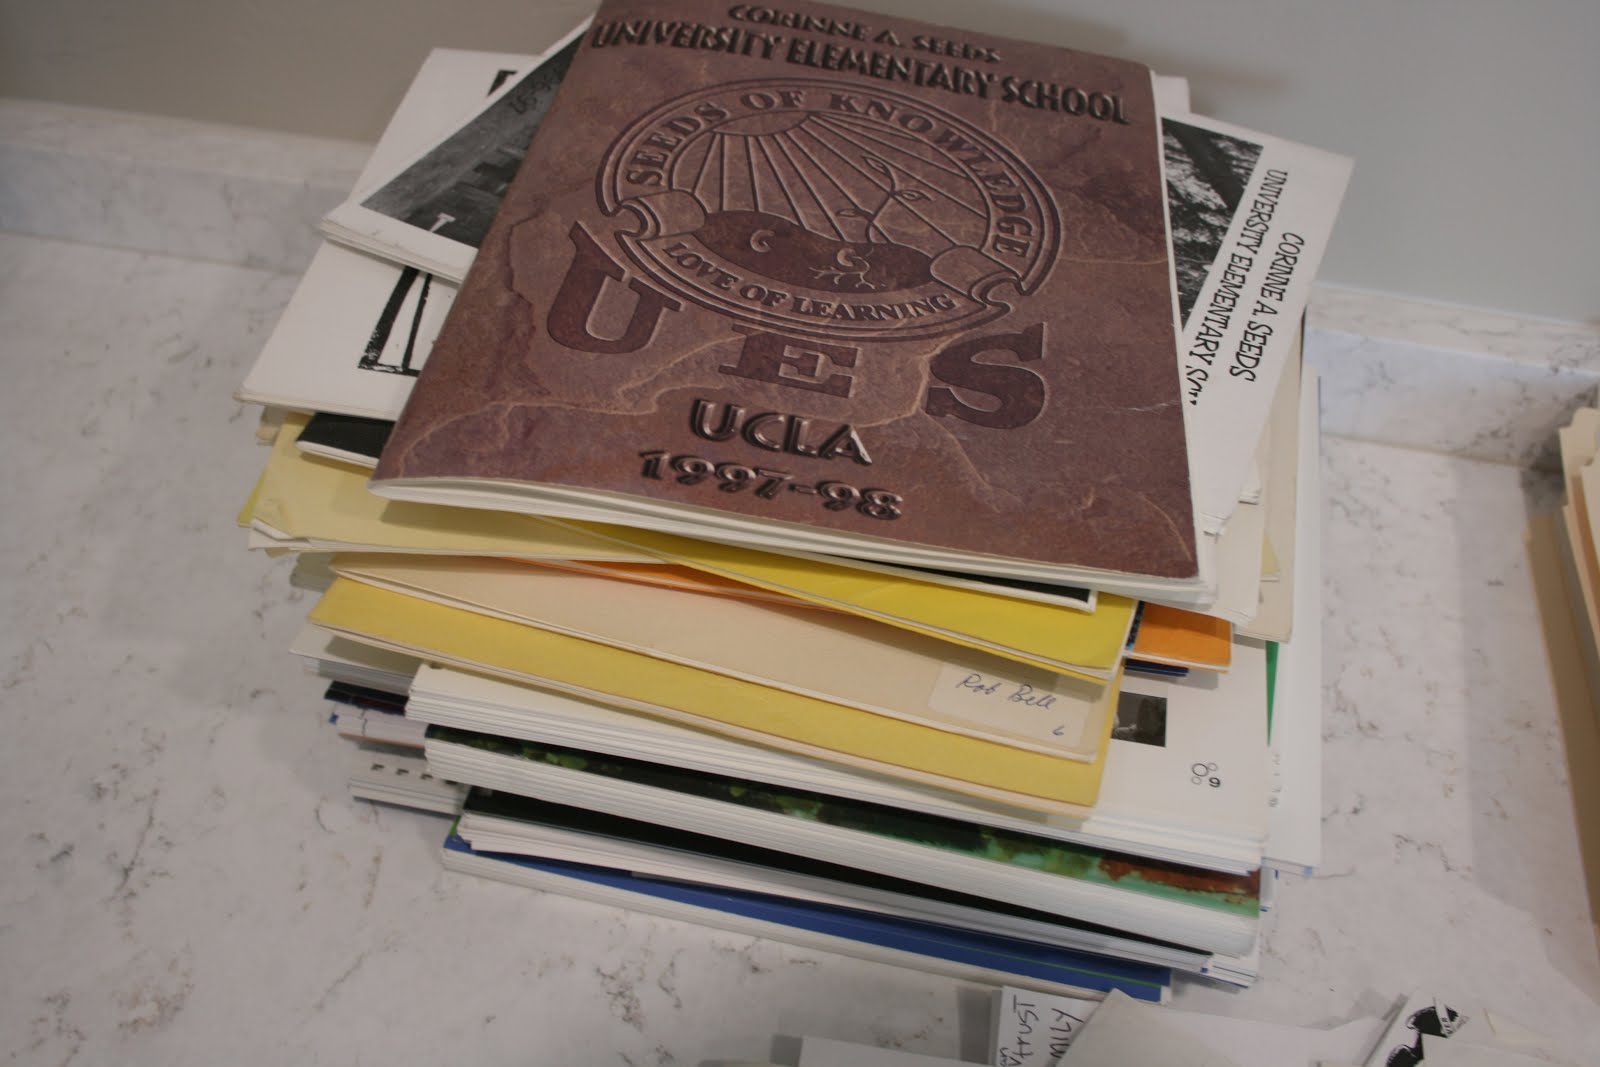
| Making piles. |
Step 3. After sorting you will have three piles of paper and piles of photographs and documents by name. You are now ready to digitize.
 |
| Making sub-categories. Place a piece of paper with a title on top of each pile. |
 |
| As you can see most of the documents are 8 1/2 x 11 but the ones in the foreground are odd sizes and will need to be scanned in the Kodak photo scanner. |
 |
| For spiral bound or staple bound materials I go to Copy That in American Fork 62 N 600 W, American Fork, UT 84003, and have them cut off the binding. They have an amazing machine which cuts off the binding perfectly. It's cheap and will save you hours of time. Next you pop them into the document feed machine and out comes jpgs or PDFs. Use Pdfs if you want to save the order of the pages. |
Step 4. Go to the BYU Genealogy Library or another library with good scanners. At BYU there is a sheet scanner. Place your 8 1/2 x 11 records pile into the scanner and tell the program you are scanning Simplex (one sided). You can scan everything as jpg's or tiff's. Be aware that if you own a Mac it will not be able to read the tiff files. So for MAC users the safest thing to do is scan everything as a jpg. If you have large documents that you want to keep in page order you can scan them as a pdf. This will make a small file that is easy to send and save.
(If you scan at BYU: Go to this link: https://sites.lib.byu.edu/familyhistory/
(If you scan at BYU: Go to this link: https://sites.lib.byu.edu/familyhistory/
On the right click on reserve a scanner and reserve two scanners. Reserve a photo feed and a document feed for an hour each. You need a BYU ID and password to reserve. After you have mastered each machine you can actually work them both at the same time. )
 |
| Document feed scanner, an amazing machine! |
Step 5. Take all your 8 1/2 x 11 sheets of paper that need copying on both sides and put them into the sheet scanner (Document feed). This time tell the program you are scanning in the Duplex mode. This machine can scan hundreds of pages in just a few minutes. Make sure you don't have any staples or wrinkled papers. It will do smaller size paper if the pages are all the same size. It will also do 8 1/2 x 11 mixed with legal size but the machine will need to be restarted each time you hit a new size. By restarted I mean just hit continue and scanning again.

Step 6. Next go to the Kodak scanner (Photo Feed). Go to "settings" and tell it you want tiff files, one or two sided depending on what you have in your pile. This machine will take odd sizes and some smaller size photos. If you scan a postage stamp photo it may get stuck in the machine. Lift the lever, open the machine and remove it if it gets stuck.
Step 7. The Kodak scanner will auto orient your photos but after the program tries to do it you will need to go back through the photos and make sure they are correct before saving. Or you can just save and do this job at home. Make sure and bring a thumb drive or external hard drive that works with a PC to save everything. A thumb drive or flash drive is a lot slower than an external hard drive. Don't forget to save your files to your hard drive or thumb drive.
Step 8. Go home and upload everything you have copied. To make sure you got everything I recommend labeling all photos and documents. Then look back into your original piles and compare the pile to what you have copied into your photo program. Once you have backed up all digital info you can confidently toss originals or archive them.
Step 9. I put my photos and documents into iPhoto libraries by family name. If you use a PC you can use the program you keep your photos on. For instance I have a James Gardiner library, a Brown Family library etc. Once in your library you will need to change the title of each document or photo. BYU scanners generate a large title with lots of numbers. Highlight the title and give it a title that befits your document or photo. I label them with the date first and then the name of the principal person in the photo. If I am not sure of a date I guess. That way I can have the computer sort my photos by date.
 |
| All my photograph/document libraries (PDFs are in a separate folder). |
 |
| My father, JH Gardiner's library folders with all photos and documents related to him. |
 |
| Same library, more folders. Hundreds of items in each of these folders. |
 |
| Here are some contents in the Gardiner Documents folder. Notice each document name begins with the date it was created. |
Step 10. Backup. I have over 80,000 photos and documents. I take all libraries and put them on a single external hard drive. Then I copy the contents of that hard drive onto other hard drives in case something happens to the original hard drive. That hasn't happened in 20 years but it could. A terabyte and a half is good size for me. I also have 700 videos. I do the same with them. They are all on a single TB external hard drive and I copy them to other hard drives to back them up. This is essential. You don't want anything to happen to all your hard work.
Website stats:

.jpeg)
 |
| 20 External Hard Drives in total |
One full 5TB hard drive in the car and one at my daughter's home.